
Letter Formation for Kindergarten: Tips for Clean Confident Writing
Key Takeaways
- Almost every letter starts at the top, and establishing this habit early is the single most important letter formation rule for kindergartners.
- Grouping letters by similar strokes (like c, o, a, d, g sharing the same counterclockwise curve) is more effective than teaching in alphabetical order.
- Multisensory practice - sky writing, sand trays, playdough, and finger painting - builds stronger motor memory than pencil-and-paper practice alone.
- Letter reversals like b/d and p/q are completely normal in kindergarten and most children outgrow them by the end of first grade without intervention.
- Left-handed students need specific adjustments to paper angle, pencil grip height, and seating position to develop efficient letter formation.
Letter formation is one of those kindergarten skills that looks easy from the outside. Your students just need to write the alphabet, right?
But watch a room full of 5-year-olds try to write the letter "k" and you'll see the challenge. Letters that start from the bottom. Letters that float above the line. Letters that are technically correct but took 6 strokes instead of 2.
Good letter formation isn't about perfection. It's about building habits that make writing easier as it gets more complex. Here's how to set your kiddos up for success.
Free Letter Formation Practice Pages for Kindergarten


Why Letter Formation Matters
It's tempting to think that as long as a letter is recognizable, formation doesn't matter. And honestly, for a 5-year-old writing their name on an art project, that's probably true.
But here's why formation matters long-term: students who form letters inefficiently write more slowly. They fatigue faster. And when writing gets harder (sentences, paragraphs, timed assignments), bad habits become real obstacles.
A child who draws the letter "a" using three separate strokes will always be slower than one who makes it in a single continuous motion. Multiply that by every letter in every word, and the difference adds up.
Good formation also builds muscle memory. When letter shapes become automatic, your students' brains can focus on what they're writing instead of how to write it. That's the goal. We want writing to feel like a tool, not a task.
Research consistently shows that handwriting fluency in kindergarten and first grade predicts writing quality in later grades. Not because neat handwriting equals good writing, but because efficient formation frees up mental energy for ideas.
Start With Pre-Writing Strokes
Before your students pick up a pencil to write actual letters, they need to master the basic strokes that letters are made of.
There are really only a handful of strokes in the entire alphabet:
- Vertical lines (top to bottom)
- Horizontal lines (left to right)
- Circles and curves
- Diagonal lines
- Humps and hooks
Spend time on these before jumping to letters. It feels slow, but it pays off.
Activities for pre-writing strokes:
- Trace vertical lines on a whiteboard (big arm movements first)
- Draw circles in sand or finger paint
- Follow maze paths that use curves and straight lines
- Play connect-the-dots with simple shapes
Watch for directionality. Vertical lines should go top to bottom. Horizontal lines should go left to right. Circles should start at the top and go counterclockwise. These aren't arbitrary rules. They're the foundation of efficient letter formation.
If a child draws a vertical line from bottom to top, gently redirect. Don't make a big deal about it, but do correct it. Habits formed now are the habits they'll carry forward.
Teaching Uppercase and Lowercase Together (Or Not)
This is one of the big debates in early writing instruction, and there's no single right answer.
The case for uppercase first: Capital letters are mostly straight lines and simple shapes. They're easier for small hands. Many kids arrive at kindergarten already knowing how to write their name in capitals. Starting with uppercase builds confidence.
The case for lowercase first: Lowercase letters are what students will read and write most often. If you teach uppercase first, some kids get "stuck" and resist switching to lowercase. Starting with lowercase means they only learn each letter once.
The case for teaching both together: This is what most modern curricula recommend. Introduce a letter (say, Bb) and teach both forms at the same time. Kids learn that B and b are the same letter in two outfits.
Whatever approach you choose, be consistent across your classroom. And know that there's no wrong answer here. The research is honestly mixed, and all three approaches work when taught well.
One thing that does matter: don't teach all 26 letters in alphabetical order. Group letters by similar strokes instead. Letters like c, o, a, d, g all start with the same counterclockwise curve. Teaching them together helps students see the pattern.
Multisensory Letter Formation Activities
Pencil and paper is important, but it shouldn't be the only way your students practice letter formation. Young children learn better when multiple senses are involved.
Sky writing. Stand up, extend your arm, and "write" the letter in the air using big movements. Say the stroke directions out loud: "Start at the top, pull down, bump out." This builds the motor pathway before shrinking it to paper size.
Sand or salt trays. Fill a shallow tray with sand. Students trace the letter with their finger, then shake the tray to erase and try again. The tactile feedback helps cement the stroke pattern.
Playdough letters. Roll playdough into thin ropes and form letter shapes. This is great for kids who struggle with pencil control because it removes the pencil from the equation.
Finger painting. Spread finger paint on a table or tray. Students form letters directly in the paint. Messy, yes. Effective, also yes.
Wet sponge on chalkboard. Give students a small damp sponge and let them write letters on a chalkboard. The letters dry and disappear, which takes the pressure off. No permanent mistakes.
Letter formation apps on tablets. Used sparingly, these can be helpful because they provide instant feedback on stroke direction and order. But they shouldn't replace hands-on practice with real writing tools.
The idea behind multisensory practice is simple: the more ways a child experiences a letter's shape, the more pathways their brain builds for remembering it.
Common Letter Formation Errors
After watching thousands of kindergartners write, these are the errors that come up most often:
Starting from the bottom. Many kids want to build letters from the ground up, like building blocks. But almost every letter starts at the top. This is the single most important habit to establish early.
Reversals (b/d, p/q). Extremely common and completely normal in kindergarten. Most kids outgrow reversals by the end of first grade. In the meantime, try the "bed" trick: make two fists with thumbs up, hold them together, and they spell "bed." Left fist is the b, right fist is the d.
Inconsistent sizing. Tall letters that are the same height as short letters. Letters that drift above or below the line. Use paper with a clear midline (dotted line between the top and bottom lines) and explicitly teach which letters are "tall" (b, d, f, h, k, l, t), which are "small" (a, c, e, i, m, n, o, r, s, u, v, w, x, z), and which have "tails" (g, j, p, q, y).
Too much pressure. Some kids press so hard the pencil tears through the paper. This usually means their grip is too tight. Try having them write with a crayon first (crayons break under too much pressure, which teaches self-regulation).
Letters made of too many strokes. The letter "E" drawn as four separate lines instead of a single continuous path. This isn't wrong exactly, but it's inefficient. Demonstrate the efficient stroke path and practice it specifically.
Don't try to fix everything at once. Pick the one habit that will make the biggest difference for each student and focus there.
Left-Handed Students Need Special Attention
About 10% of your students will be left-handed, and letter formation can be trickier for them. Not harder, just different. A few adjustments make a big difference.
Paper position. Right-handed students should tilt their paper slightly to the left. Left-handed students should tilt it to the right. This keeps their wrist straight and prevents the "hooked" writing posture.
Pencil grip. Left-handed students should grip the pencil slightly higher than right-handed students (about 1 to 1.5 inches from the tip). This helps them see what they're writing without curling their hand over the top.
Seating. Seat left-handed students on the left side of shared desks so their elbows don't bump the right-handed student next to them.
Don't force a hand switch. If a child consistently uses their left hand, that's their dominant hand. Forcing a switch creates confusion and frustration without any benefit.
Model mirrored. When demonstrating letter formation to a left-handed student, sit across from them rather than next to them, or use your left hand. Watching a right-handed demonstration can be confusing.
Some left-handed students will naturally develop a slightly different stroke order for certain letters, and that's okay. The goal is legibility and efficiency, not strict adherence to right-handed formation charts.
Keep Reading
- How to Improve Kids' Handwriting: Tips for Every Age
- How to Teach Handwriting to Kindergartners
- How to Teach Writing to Kindergartners: Activities That Build Confidence From Day One
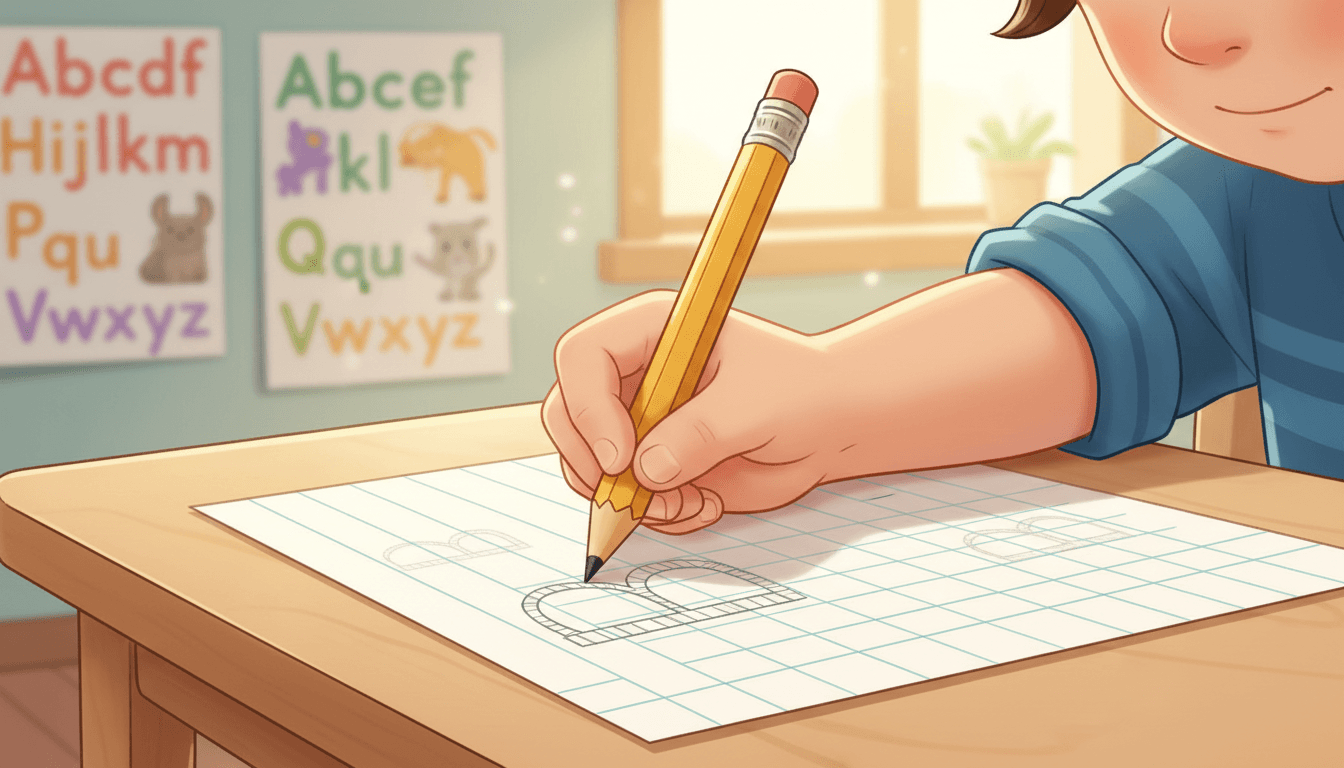
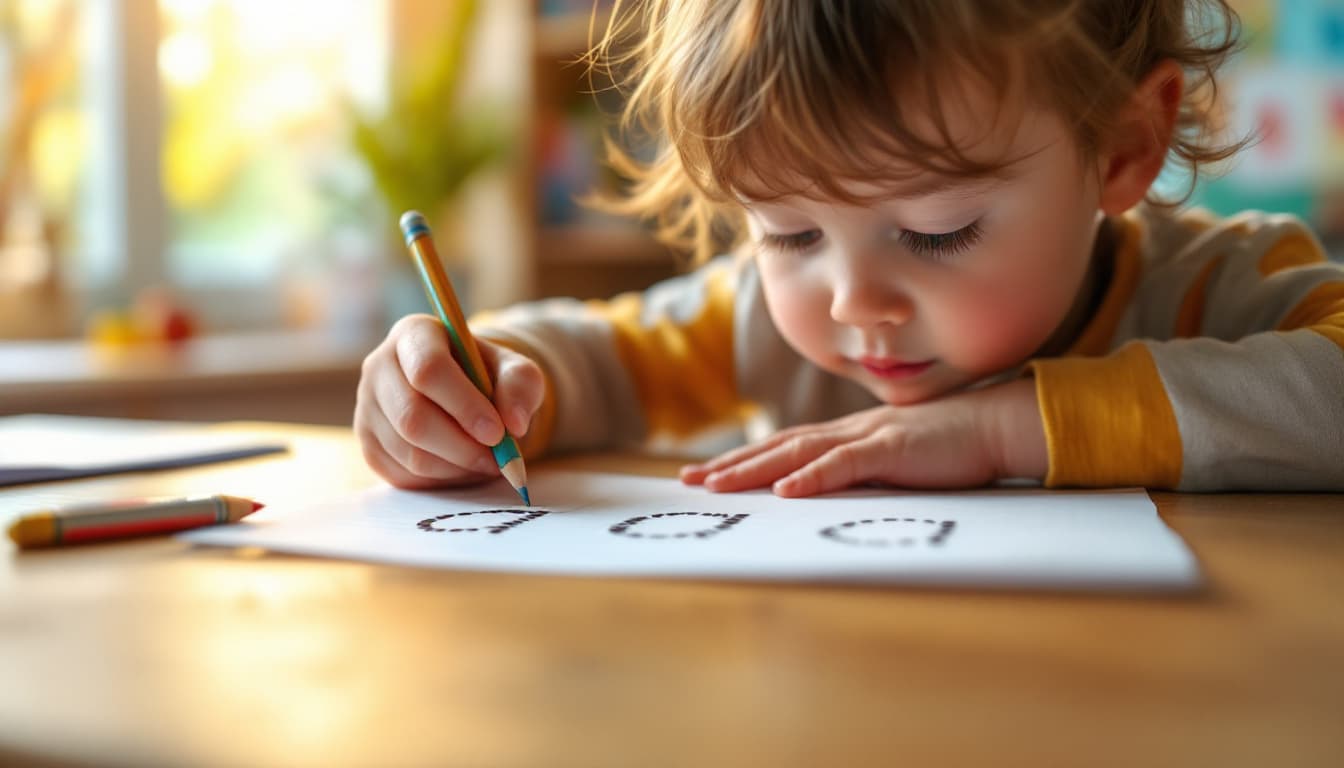
Practice Pages for Letter Formation
Printable practice pages are the bridge between learning a letter and owning it. They give your students the repetition they need without you having to stand at the whiteboard modeling every single letter.
The best practice pages for kindergartners include:
- A large model of the letter with numbered stroke order
- Dotted or traced versions for guided practice
- Empty lines for independent practice
- A matching illustration (the letter A next to an apple)
Start with just one or two letters per page. Full-alphabet pages overwhelm most kindergartners. And alternate between uppercase and lowercase so both get regular practice.
Pair practice pages with one of the multisensory activities above. Sky write the letter first, trace it in sand, then pick up the pencil. By the time they reach the paper, the stroke pattern is already in their muscles.
One last thing: celebrate progress, not perfection. When a student's letter "a" starts at the top for the first time, that's worth noticing out loud. Building confidence matters just as much as building skill, and your kiddos will write more willingly when they feel good about what their letters look like.

Adi Ackerman
Head Teacher
Adi is the Head Teacher at ClassWeekly, with years of experience teaching elementary students. She designs our curriculum-aligned worksheets and writes practical guides for teachers and parents.
Keep Reading
Ready to download? Try ClassWeekly free for 30 days.
Unlimited worksheets for PreK through 5th grade. Cancel anytime.